You haven't signed in yet, you can have a better experience after signing in
*Please complete the payment within {{receiveCouponInfo.expire_at}}Previous use*
You haven't signed in yet, you can have a better experience after signing in
 Movavi Video Suite 2026 Video Editing and Production Tool Set

Activity Rules
1、Activity time:{{ info.groupon.start_at }} ~ {{ info.groupon.end_at }}。
1、Activity time:cease when sold out。
2、Validity period of the Group Buying:{{ info.groupon.expire_days * 24 }} hours。
3、Number of Group Buying:{{ info.groupon.need_count }}x。
Please Pay Attention
1、Teamwork process: Join/initiate a Group Buying and make a successful payment - Within the validity period, the number of team members meets the activity requirements - Group Buying succeeded!
2、If the number of participants cannot be met within the valid period, the group will fail, and the paid amount will be refunded in the original way.
3、The number of people required and the time of the event may vary among different products. Please pay attention to the rules of the event.
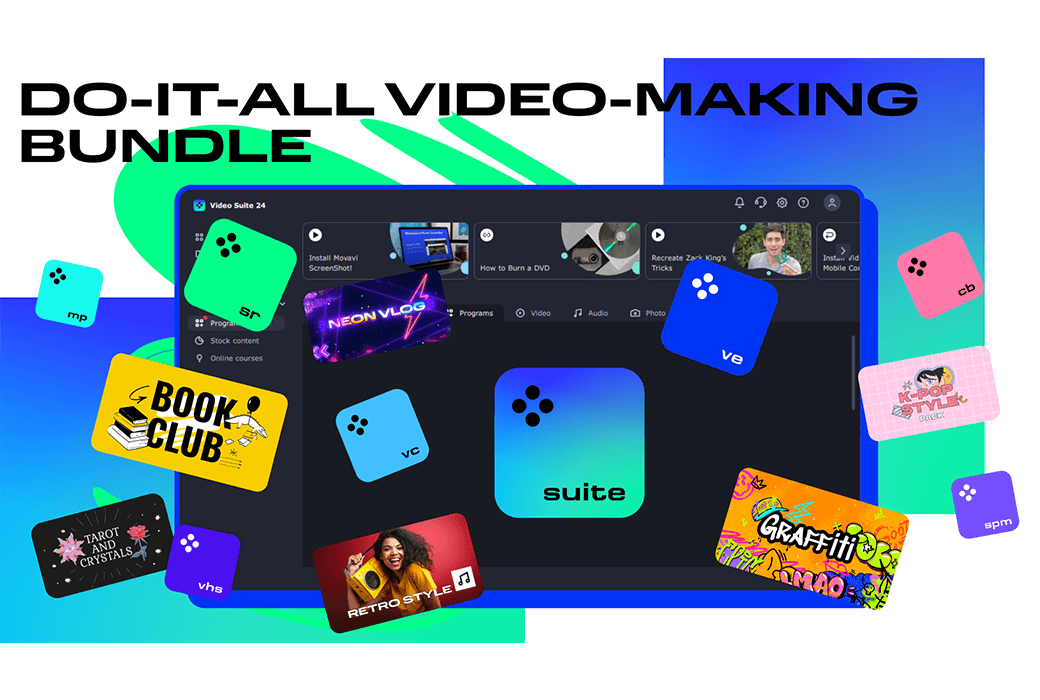
Movavi Video Suite 2026: One Stop Video Solution
Movavi Video Suite 2026 makes video editing easy with its intuitive tools and powerful features. Whether it's quick video editing or advanced operations such as background removal and motion tracking using AI technology, this software can meet your needs. Moreover, it also supports lightning fast file conversion and convenient screen recording functions.
New features allow creativity to expand infinitely
video editing
Quickly create killer videos: enjoy dazzling effects, use artificial intelligence to quickly change backgrounds, eliminate noise, polish sound, and convert video formats in the blink of an eye.
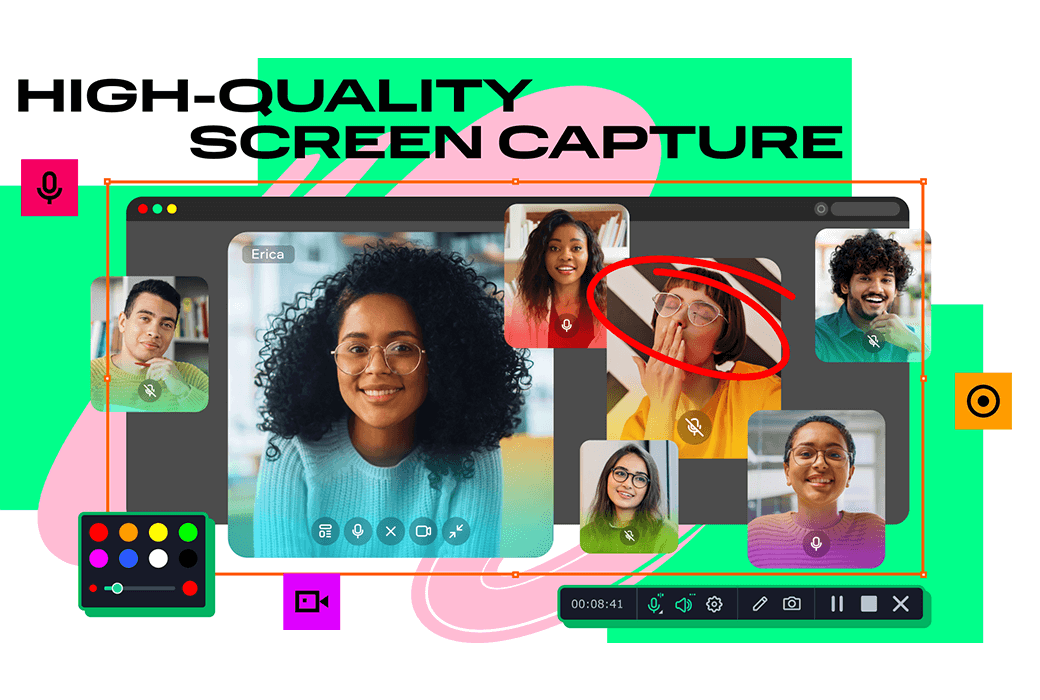
screen recording
One click capture of any desktop activity: recording video courses, software demonstrations, webinars, etc. Highlight the mouse and keystrokes and draw the recording in real-time, making it informative.
Utility tools
Enhance your video production experience with some cool additional features: powerful CD/DVD/Blu ray burners, simple media players, and diverse inventory content to make your video creations more exciting.
What can I do with Movavi Video Suite?
By overlaying flames, lightning, and other ready-made animations, you can give your editors a brand new sense of realism - no special equipment required, just simple tricks. Quickly add a lot of actions to your video!
Add a new layer of cool effects to your video blog and highlights! Easily overlay your videos, photos, and borders to create a dreamlike effect.
The new version of the timeline is now clearer and more reasonable. From social short videos to longer family films, complete project creation faster and enjoy more fun.
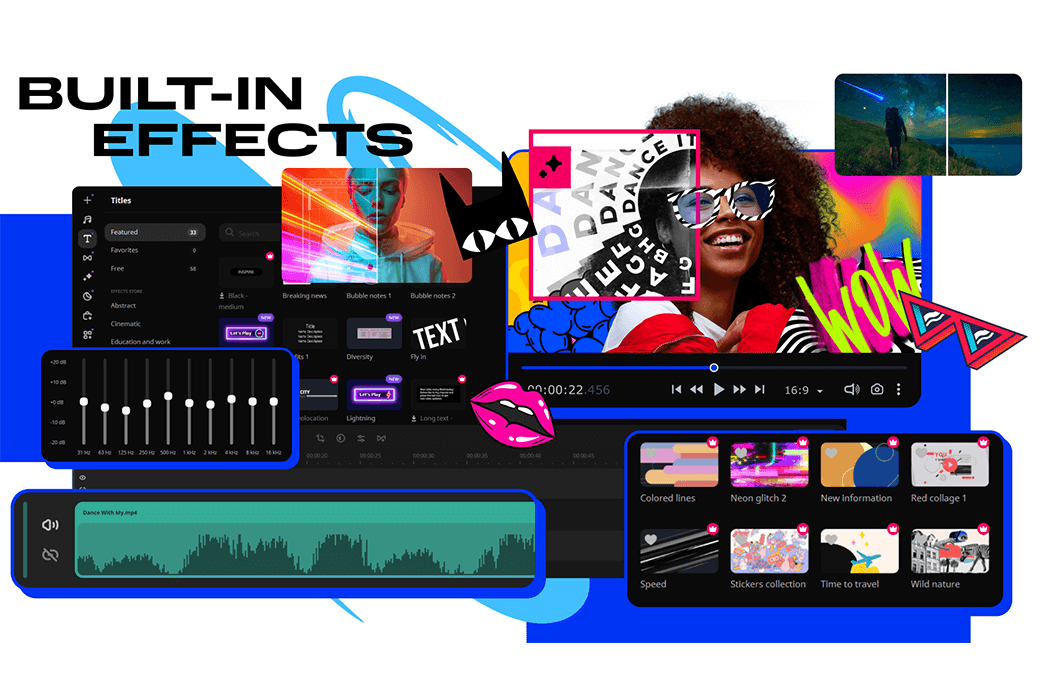
Create exciting videos of any style using our extensive professional design effects. Now you can try them immediately in the application. To use these effects in your videos, please subscribe to the Movavi Effects Store!
Now, each overlay effect has 13 blending modes to choose from. Just press the button to try them out one by one, and then choose the effect that best suits your video.
Make your clips look brand new - with just one click, you can increase their resolution by 8 times and watch your videos on a larger screen.
Enhance the realism of the video with additional dynamic graphics. With just one click, AI will quickly attach any photo, video, emoji, or meme to the object in the video clip.
Even without using a green screen, the built-in artificial intelligence can quickly remove backgrounds from videos. Set any content - from solid colors to external spaces - and use extraordinary videos to captivate the audience's attention.
Use our AI driven audio denoising system to automatically eliminate car noise, wind noise, and other dissonant sounds in clips. Create a video with clear and crisp sound that the audience will definitely enjoy.
Create more vivid videos with the help of the new drawing tool. Like your favorite blogger, effortlessly complete precise editing and create eye-catching montages.
System requirements
Movavi Video Suite 2026 has very user-friendly system requirements, even older Windows systems can run smoothly. It requires at least 2 GB of RAM and a graphics card that supports DirectX 9.0c. This means that you don't need expensive hardware upgrades to enjoy the convenience brought by this software.
Official website:https://www.movavi.com/suite/
Download Center:https://movavivideosuite.apsgo.cn
Backup Download:N/A
Delivery time:24-hour automatic shipping
Operating Platform:Windows、macOS
Interface language:Supports Chinese interface display and multiple language options.
Update Description:1-year version: supports updates and usage within 1 year, lifetime version: can be used for life, supports minor version upgrades and updates.
Trial before purchase:Free trial is available before purchase.
How to receive goods:After purchase, the activation information will be sent to the email address at the time of placing the order, and the corresponding product activation code can be viewed in the personal center, My Orders.
Number of devices:Can install one computer.
Replace computer:Uninstall the original computer and activate the new computer.
Activation guidance:https://www.movavi.com/cn/support/activatekey/
Special note:To be added.
reference material:https://www.movavi.com/cn/support/

Any question

To add a watermark or logo to a video, follow these simple steps:
Add watermarks or logos to videos (using photos or text)
Movavi Video Suite allows adding watermarks to videos in just a few minutes using a simple video editor. You can also use this simple tool to enjoy other features
Step one. Install video watermark generator
On Mac or Windows, follow the installation instructions to download and install Movavi Video Suite. The instructions on the screen are simple and easy to understand
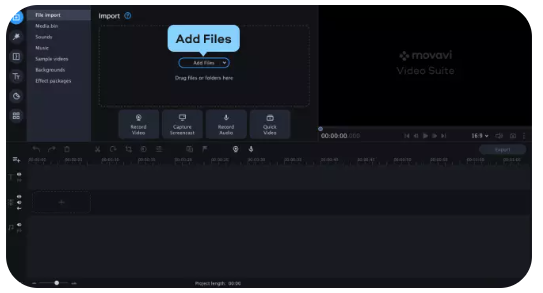
Step two. Add the video to the program
Before adding a watermark, you need to add the video itself to the program. Select the 'Edit Video' option. Click on 'Add File' and navigate to the corresponding video file. You can also click and drag the video file directly into the window
Step three. Add your logo or watermark to the video
Add as photo
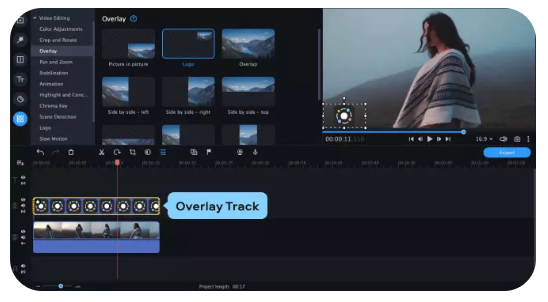
It's time to upload your logo or watermark into the program now. It is best to ensure that the image you are using is transparent, unless you want it to appear opaque. You can use static and animated images
Add files with your logo or watermark to the timeline. Now start dragging this file until a new overlay track appears. Place the file on the overlay track so that it appears at the top of the video. By changing the position of the image clip on the overlay track, you can alter its appearance time in the video. To make your logo or watermark run through the entire video, drag the right edge of the image clip to the end of the video clip below
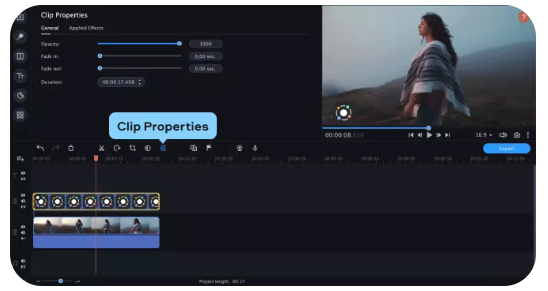
To edit an image, double-click on the timeline. On the left side of the player window, you will see the opened clip properties tab, where you can adjust the position and transparency of the logo or watermark, manually set the screen duration, or add fade in/fade out effects
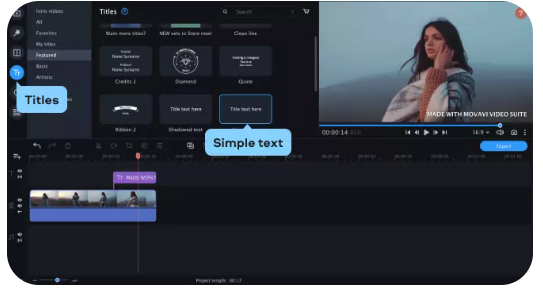
Add as Text
Open the title tag and drag the simple text title onto the timeline. Enter the text required for the watermark and change its size, font, and color. Drag the watermark to the target position in the preview window
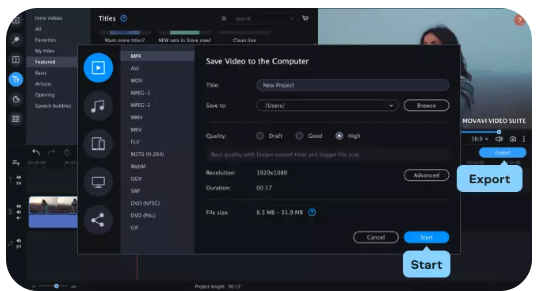
Step four. Save results
When you need to save and render the video, click Export. You will see a new export window where you can convert the video to the desired output format, set the file name and save folder, and select the image quality. After completing these, click on 'Start' to begin